React项目的初始化搭建
由于手动搭建React环境过于麻烦,要的依赖相当多,需要花费大量时间在配置上,所以就直接使用React官方提供的create-react-app脚手架工具。
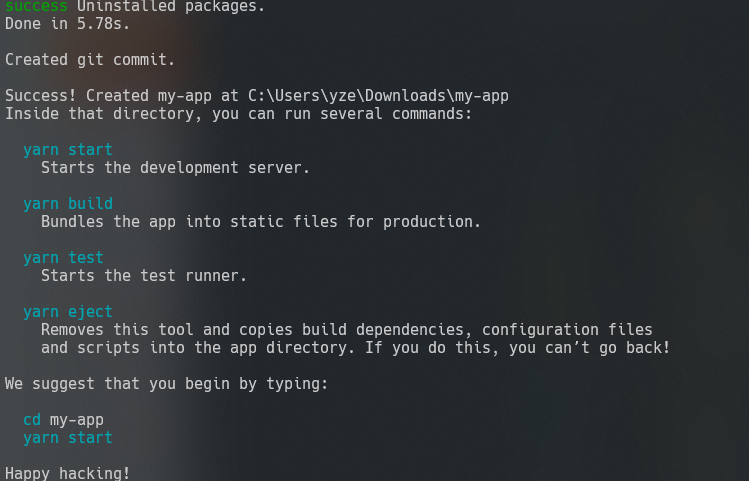
脚手架的使用有两种方法,一种是先用npm或yarn全局安装create-react-app然后再create-react-app my_app,另一种是使用npx create-react-app my_app这样就不用提前安装好create-react-app工具。
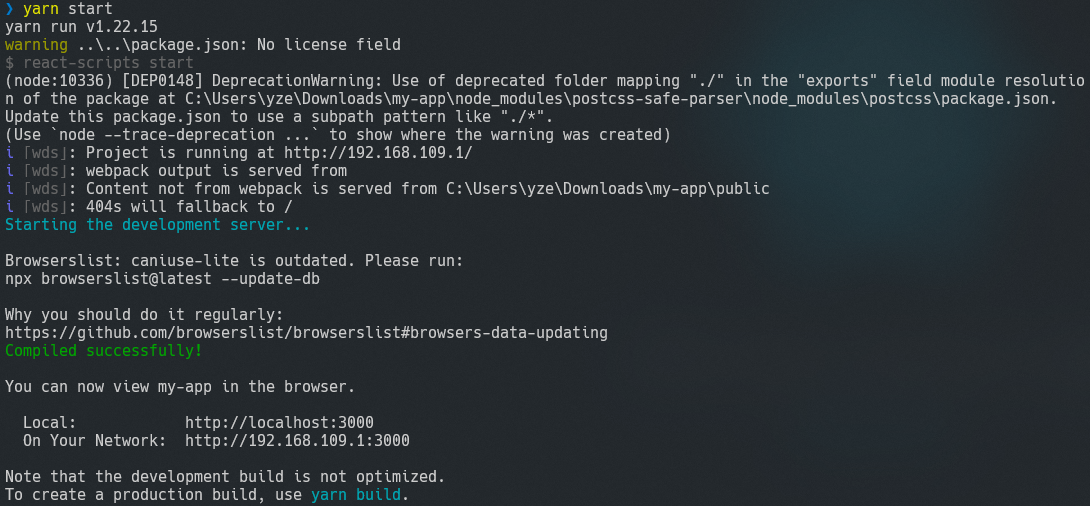
这里使用第二种方法,在notebook_app文件夹中使用npx create-react-app client,等到安装完成后,cd clinet然后yarn start,观察控制台输出。
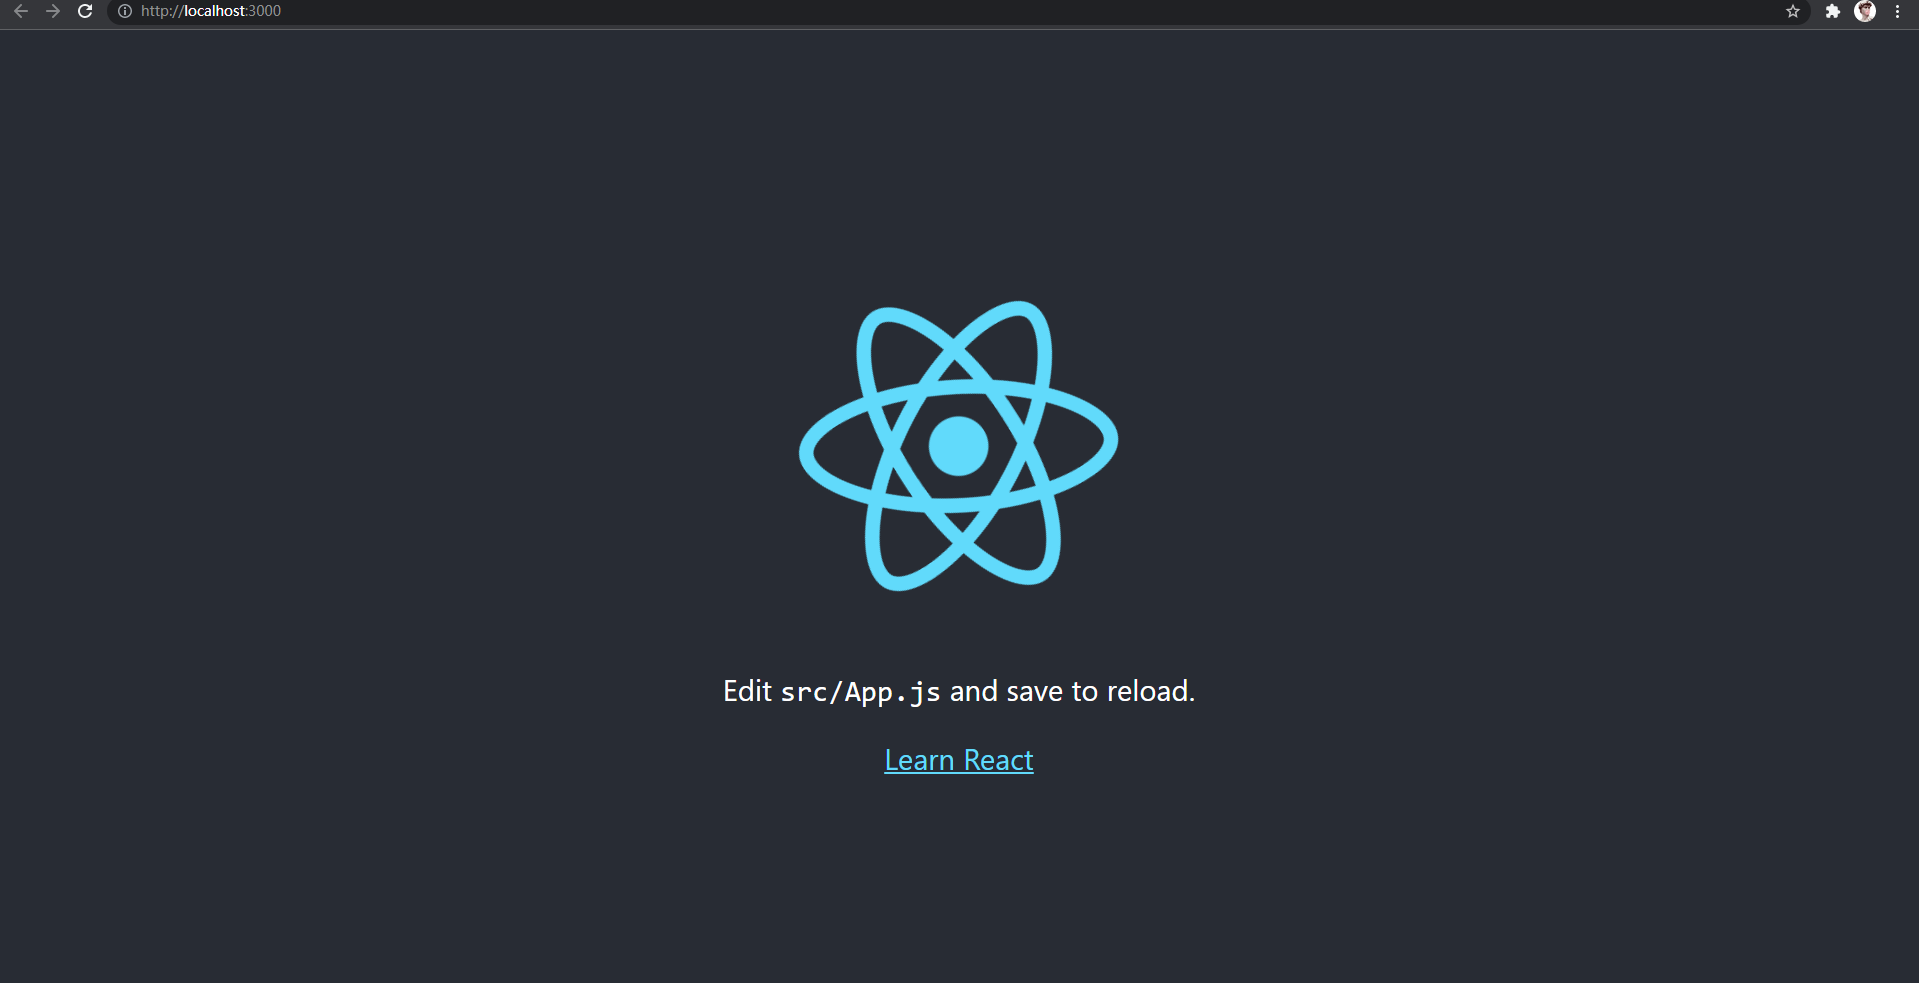
在浏览器中看到这个页面就表示脚手架搭建完成了
一个可能会遇到的坑
在使用的node版本为17以上时,运行create-react-app会出错,解决办法只能将Node降级,建议使用Node版本管理工具快速切换Node。
客户端实现
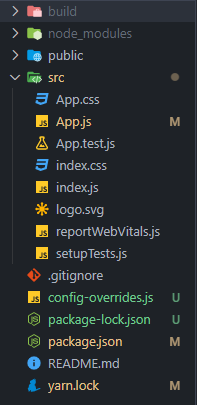
客户端最终的项目文件夹结构
用到的依赖
由于最终实现的是一个单页面的客户端,请求需要使用Ajax的方式发送,所以这里用到axios,简化了Ajax请求发送的实现过程。
npm install axios 或者 yarn add axios
npm install antd
App.js
进入client/src文件夹中,清除App.js中的内容,这个文件作为一个整的React组件被加入到index中,所以客户端主要的实现就是在这个文件里编写。
1
2
3
4
5
6
7
8
9
10
11
12
13
14
15
16
17
18
19
20
21
22
23
24
25
26
27
28
29
30
31
32
33
34
35
36
37
38
39
40
41
42
43
44
45
46
47
48
49
50
51
52
53
54
55
56
57
58
59
60
61
62
63
64
65
66
67
68
69
70
71
72
73
74
75
76
77
78
79
80
81
82
83
84
85
86
87
88
89
90
91
92
93
94
95
96
97
98
99
100
101
102
103
104
105
106
107
108
109
110
111
112
113
114
115
116
117
118
119
120
121
122
123
124
125
126
127
128
129
130
131
132
133
134
135
136
137
138
139
140
141
142
143
144
145
146
147
148
149
150
151
152
153
154
155
156
157
158
159
160
161
162
163
164
165
166
167
168
169
|
import React, { Component } from 'react';
import axios from 'axios';
import { Button, Input, List, Avatar, Card } from 'antd';
import './App.css';
class App extends Component {
state = {
data: [],
id: 0,
message: null,
intervalIsSet: false,
idToDelete: null,
idToUpdate: null,
objectToUpdate: null,
};
componentDidMount() {
this.getDataFromDb();
if (!this.state.intervalIsSet) {
let interval = setInterval(this.getDataFromDb, 1000);
this.setState({ intervalIsSet: interval });
}
}
componentWillUnmount() {
if (this.state.intervalIsSet) {
clearInterval(this.state.intervalIsSet);
this.setState({ intervalIsSet: null });
}
}
getDataFromDb = () => {
fetch('/api/getData')
.then((data) => data.json())
.then((res) => this.setState({ data: res.data }));
};
putDataToDB = (message) => {
let currentIds = this.state.data.map((data) => data.id);
let idToBeAdded = 0;
while (currentIds.includes(idToBeAdded)) {
++idToBeAdded;
}
axios.post('/api/putData', {
id: idToBeAdded,
message: message,
});
};
deleteFromDB = (idToDelete) => {
let objIdToDelete = null;
this.state.data.forEach((dat) => {
if (dat.id == idToDelete) {
objIdToDelete = dat._id;
}
});
axios.delete('/api/deleteData', {
data: {
id: objIdToDelete,
},
});
};
updateDB = (idToUpdate, updateToApply) => {
let objIdToUpdate = null;
this.state.data.forEach((dat) => {
if (dat.id == idToUpdate) {
objIdToUpdate = dat._id;
}
});
axios.post('/api/updateData', {
id: objIdToUpdate,
update: { message: updateToApply },
});
};
render() {
const { data = [] } = this.state;
console.log('data', data);
return (
<div style={{ width: 990, margin: 20 }}>
<List
itemLayout="horizontal"
dataSource={data}
renderItem={(item) => (
<List.Item>
<List.Item.Meta
avatar={
<Avatar src="https://emojipedia-us.s3.dualstack.us-west-1.amazonaws.com/thumbs/120/apple/285/nerd-face_1f913.png" />
}
title={<span>{`创建时间: ${item.createdAt}`}</span>}
description={`${item.id}: ${item.message}`}
/>
</List.Item>
)}
/>
<Card title="新增笔记" style={{ padding: 10, margin: 10 }}>
<Input
onChange={(e) => this.setState({ message: e.target.value })}
placeholder="请输入笔记内容"
style={{ width: 200 }}
/>
<Button
type="primary"
style={{ margin: 20 }}
onClick={() => this.putDataToDB(this.state.message)}
>
添加
</Button>
</Card>
<Card title="删除笔记" style={{ padding: 10, margin: 10 }}>
<Input
style={{ width: '200px' }}
onChange={(e) => this.setState({ idToDelete: e.target.value })}
placeholder="填写所需删除的ID"
/>
<Button
type="primary"
style={{ margin: 20 }}
onClick={() => this.deleteFromDB(this.state.idToDelete)}
>
删除
</Button>
</Card>
<Card title="更新笔记" style={{ padding: 10, margin: 10 }}>
<Input
style={{ width: 200, marginRight: 10 }}
placeholder="所需更新的ID"
onChange={(e) => this.setState({ idToUpdate: e.target.value })}
/>
<Input
style={{ width: 200 }}
onChange={(e) => this.setState({ updateToApply: e.target.value })}
placeholder="请输入所需更新的内容"
/>
<Button
type="primary"
style={{ margin: 20 }}
onClick={() =>
this.updateDB(this.state.idToUpdate, this.state.updateToApply)
}
>
更新
</Button>
</Card>
</div>
);
}
}
export default App;
|
css样式antd的引入
在上面的UI渲染中使用到了不少的antd的css组件,所以需要引入。
在之前安装过antd的依赖,但是当编写完上面的代码运行后会发现并没有出现antd的样式,这是因为import { Button, Input, List, Avatar, Card } from 'antd';这行代码在当前状态并不会产生作用,缺少了相应的东西。如果现在想要引入的话,只能在src/App.css中import node_modules/antd中的css文件。
虽然这样的确能做到antd样式,但是在实际使用中并不是完全用到了antd中的所有样式,然而每次请求都要求引入完整的css样式库,文件会很大导致网页加载的速度变慢,而且此时服务器的压力会很大。
所以必须要实现css样式的按需加载。
需要用到以下这些包:
- npm install babel-plugin-import
- npm install customize-cra
- npm install react-app-rewired
安装完成后进入package.json文件,修改scripts,将开头都改为react-app-rewired,如”start”: “react-app-rewired start”,因为react默认不支持按需引入,所以此时程序的入口要改成这个。
修改后的package.json参考
1
2
3
4
5
6
7
8
9
10
11
12
13
14
15
16
17
18
19
20
21
22
23
24
25
26
27
28
29
30
31
32
33
34
35
36
37
38
39
40
41
42
43
44
45
46
|
{
  "name": "client",
  "version": "0.1.0",
  "private": true,
  "dependencies": {
    "@testing-library/jest-dom": "^5.11.4",
    "@testing-library/react": "^11.1.0",
    "@testing-library/user-event": "^12.1.10",
    "antd": "^4.16.13",
    "axios": "^0.24.0",
    "babel-plugin-import": "^1.13.3",
    "customize-cra": "^1.0.0",
    "react": "^17.0.2",
    "react-app-rewired": "^2.1.8",
    "react-dom": "^17.0.2",
    "react-scripts": "4.0.3",
    "web-vitals": "^1.0.1"
  },
  "scripts": {
    "start": "react-app-rewired start",
    "build": "react-app-rewired build",
    "test": "react-app-rewired test",
    "eject": "react-app-rewired eject"
  },
  "proxy": "http://localhost:3001",
  "eslintConfig": {
    "extends": [
      "react-app",
      "react-app/jest"
    ]
  },
  "browserslist": {
    "production": [
      ">0.2%",
      "not dead",
      "not op_mini all"
    ],
    "development": [
      "last 1 chrome version",
      "last 1 firefox version",
      "last 1 safari version"
    ]
  }
}
|
在notebook_app/client文件夹中创建config-overrides.js
1
2
3
4
5
6
7
8
9
10
11
12
|
const { override, fixBabelImports } = require('customize-cra');


module.exports = override(
  fixBabelImports('import', {
    libraryName: 'antd',
    libraryDirectory: 'es',
    style: 'css',
  })
);
|
这里稍微解释一下,书上的案例是直接require了babel-plugin-import,但是这个包很久没有更新导致跟react起冲突了,所以这里需要customize-cra这个包来解决冲突。
这时yarn start后就可以看到效果了。
其他的一些处理
设置客户端请求的转发
因为express的后端监听的端口是3001,而此时客户端运行在3000端口上,如果此时客户端发出请求,这个请求会发到http://localhost:3000/api/xxxxxx上,这时后端是收不到的,客户端也得不到任何响应。所以需要设置代理。
在client/package.json中加入:
1
| "proxy": "http://localhost:3001",
|
设置前后端的同时启动
由于在运行项目或只是临时测试的时候,每次都需要先cd到backend中启动一下,再cd回client中启动一下,实在是太麻烦了,所以需要一个script来实现前后端的同时启动。
在notebook_app中:
npm init -ynpm install concurrently- 修改
package.json中scripts:1
2
3
| "scripts": {
"start": "concurrently \"cd backend && node server.js\" \"cd client && yarn start\""
},
|
之后就可以在notebook_app中使用npm start或者yarn start来同时启动前后端了。
最后还有什么想说的吗?
其实这个东西完全没有什么含金量,只是一些简简单单的增删查改,我跟着做这个的目的主要还是想多熟悉一下React的语法。另外其实还有一个吸引我的就是分离的前后端,用的是代理转发的方式,实现起来很简单,但是这种做法我还是第一次接触,还是挺有意思的。
总的来说,前端这块虽然搞起来很有意思,但是难度也是随着慢慢深入变得越来越大,而且前端这块技术的更新迭代相当的快,这本书是19年的,但是上面用的很多相关的依赖都已经停止维护了,甚至还会和其他的东西起冲突。所以真正想要好好搞前端这块的话需要学的东西还很多,路途很遥远。